
 EN
How to Prepare Garden Machinery Before the Mowing Season?
The first dry weekend of spring is a poor time to discover that a mower will not start, a deck is packed with old clippings, or a battery has lost its charge. A deliberate pre-season check gives garden machinery a strong chance of a reliable first cut and helps prevent small faults from becoming expensive interruptions. As a garden machinery technical consultant would put it: inspect before you ask the machine to work.
This routine applies to walk-behind mowers, ride-on mowers, trimmers, tillers, shredders, and other powered tools. Your owner’s manual remains the authority for fluids, torque values, and service intervals, but the sequence below makes seasonal maintenance easier to plan.
Start with a safe, clean workspace
Move your garden machinery onto level ground with good light. Let petrol engines cool, remove the ignition key where fitted, and disconnect the spark-plug lead before you touch blades, belts, or the underside of a deck. For battery equipment, remove the battery pack. Wear gloves and eye protection; dry grass, hardened soil, and rust flakes can release unexpectedly during cleaning.
Brush or scrape away old grass and soil rather than washing electrical areas or forcing water into bearings. A clogged mower deck is more than cosmetic: wet, compacted grass restricts airflow and can leave an uneven cut. As an aside, if winter storage was damp, take extra time around fasteners and cable ends before turning anything by force.
1. Carry out a full equipment inspection
Before buying parts, inspect each item of garden machinery from handle to wheels. Look for cracked housings, loose guards, missing fasteners, split fuel lines, frayed cords, and damaged switches. Check that handles lock firmly, wheels turn freely, and safety controls return to their normal position. On ride-on equipment, also inspect the seat switch, tyres, steering response, and parking brake.
Make a short list with three columns: safe to use now, needs adjustment, and needs professional service. This simple equipment inspection prevents a common spring mistake—starting a machine first and noticing a safety defect only after it is running.
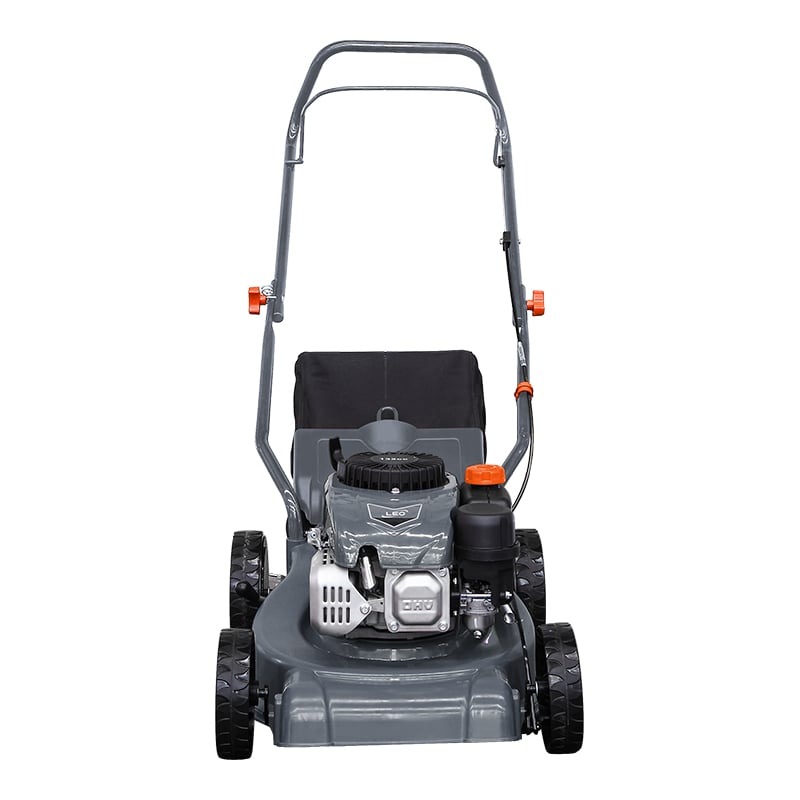
 A pre-season deck and blade inspection helps uncover buildup, wear, and loose parts before the first mow.
2. Refresh fuel, oil, and the air path
For petrol-powered garden machinery, inspect the fuel before starting. Old fuel can cause hard starting and uneven running, so follow the manual’s storage and disposal guidance rather than simply topping it up. Check the engine-oil level on level ground and change oil when the manufacturer’s seasonal schedule calls for it. Common maintenance guides cite air-filter checks around 25 operating hours and oil changes around 50 hours or once a season, but those figures are examples, not a replacement for your manual.
Remove and inspect the air filter. A filter that is visibly dirty, damaged, or oil-soaked should be serviced or replaced according to the specified type. Check the spark plug and its lead for corrosion or damage. A clean air path, correct lubrication, and sound ignition components make spring preparation much more dependable.
3. Examine blades, belts, and cutting systems
The cutting system deserves the closest attention in any garden machinery preparation plan. With the engine isolated, inspect mower blades for nicks, bends, cracks, and excessive wear. A dull blade tears grass instead of cutting it cleanly, which can leave a lawn looking ragged and more vulnerable to stress. Have bent or cracked blades replaced; sharpening and balancing should be done correctly, not improvised.
Check drive belts for glazing, fraying, cracking, or loose tension. Inspect trimmer line heads, shredder cutting parts, tiller tines, and guards in the same way. Confirm that all shields are fitted before use. If debris packed into a deck last season, clean it fully now and recheck it after the first mow, especially in humid conditions.
4. Check batteries, cables, and controls
Cordless garden machinery needs a different kind of readiness check. Inspect battery cases and contacts for damage, charge packs with the manufacturer-approved charger, and confirm that indicators behave normally. Do not use swollen, cracked, or overheating packs. For electric tools, inspect the cable, plug, and strain relief before connecting to power.
Operate controls without starting the machine where possible. Throttle levers, blade-engagement controls, height adjusters, and drive controls should move smoothly and return as intended. Lubricate only at the points and with the products specified in the manual; excess lubricant can collect grit and create a new problem.
5. Set up the machine for your lawn care conditions
Good lawn care starts with matching garden machinery to the first cut, not treating every spring lawn the same. Avoid removing too much grass at once. Set a conservative cutting height if growth is lush, uneven, or still damp from seasonal weather. Clear sticks, stones, wire, and toys from the lawn before mowing; these can damage blades and become projectiles.
Consider the terrain too. A self-propelled mower may reduce fatigue on a slope, while a ride-on mower requires adequate traction and turning room. If you use a mulching setup, only mow when conditions allow clippings to be dispersed rather than clumped. Preparation is not only mechanical; it is also about choosing a sensible first task for the conditions.
6. Run a controlled first-start test
After inspection and seasonal maintenance, test garden machinery outdoors in a clear area. Start with no load, listen for unusual vibration, and check for leaks, smoke, warning lights, or poor throttle response. Engage the cutting or drive system briefly only if all guards are in place and the manual permits the test. Stop immediately if anything sounds or feels wrong.
A short controlled run is better than discovering a fault halfway through a lawn. Recheck fluid levels, belt areas, and the deck once the machine has cooled. For battery tools, note runtime and charging behaviour; a weak pack is easier to replace before a long mowing session.
A practical preparation checklist
- Clean and visually inspect all garden machinery.
- Isolate power before servicing: remove batteries, keys, or spark-plug leads.
- Check fuel condition, oil level, air filter, and spark plug as applicable.
- Inspect blades, belts, tines, guards, tyres, and fasteners.
- Test batteries, chargers, cables, controls, and safety interlocks.
- Adjust the cutting height for lawn care conditions and clear the work area.
- Perform a short first-start test, then correct any issue before regular use.
When to call a service professional
Some garden machinery faults should not be handled at home: fuel leaks, damaged safety systems, persistent starting problems, excessive vibration, electrical faults, cracked blades, and uncertain belt or brake adjustments. A qualified technician can diagnose the cause without compromising safety or warranty coverage. This is especially important for ride-on equipment and machinery with complex interlocks.
Preparing garden machinery before mowing season is a modest investment of time that protects your equipment, supports cleaner cuts, and makes the first day of lawn care far less stressful. Work through the list methodically, keep the manual nearby, and schedule professional help whenever an inspection raises doubt.




 Hot News