
 EN
How to Improve Garden Shredder Performance Through Regular Maintenance?
A garden shredder that once pulled in prunings smoothly can start to sound strained, leave long strips in the collection bag, or stop feeding material at all. That decline is rarely mysterious. In most cases, routine cleaning, sensible feeding, and timely blade maintenance restore useful output before a major repair is needed. As a garden-machinery technical consultant, I encourage operators to treat the garden shredder as a cutting system rather than a bin for every kind of garden waste.
Regular care protects safety as well as productivity. It also helps you notice wear while it is still a small job, which is often the most practical way to extend the machine’s service life. Use the instructions and intervals in your model’s manual; controls, blade access, lubrication points, and engine requirements vary by machine.
Why Garden Shredder Performance Drops
Most garden shredder performance problems begin with a mismatch between the material and the cutting path. Soft, wet leaves can pack around a chamber designed to chip dry woody branches, while oversized limbs can dull or nick a blade. Resin, sap, soil, and compacted debris reduce clearance. The motor or engine then works harder, feeding becomes uneven, and output quality falls.
Before assuming the garden shredder has failed, look for the simple causes: a full collector, blocked discharge, blunt or damaged blades, loose fasteners, stale fuel in a petrol unit, or an overloaded extension lead on an electric model. Right, so—the first thing many people do is push material harder. That usually makes the blockage worse. Stop feeding, isolate the machine, and inspect it only when all moving parts have stopped.
Build a Safe Pre-Use Routine
A short inspection before each session keeps a garden shredder from losing capacity halfway through a cleanup. Place it on level ground, use eye and hearing protection, and keep hands and clothing away from the hopper. Switch off and unplug an electric unit, or stop a petrol engine and remove the ignition source as directed by the manufacturer, before opening a cover or clearing debris.
- Check that guards, hopper fasteners, and the collection container are fitted securely.
- Inspect the power cable, plug, switch, and extension lead for damage; do not operate with a compromised electrical connection.
- Look for loose bolts, unusual vibration marks, oil leaks, or cracked housings.
- Confirm that the feedstock is within the diameter and material limits stated for the garden shredder.
- Test any reverse or reset function without feeding material, following the manual.
This check takes minutes, but it helps prevent a minor obstruction from becoming a broken component or an avoidable repair.
Make Cleaning Part of Every Use
Consistent cleaning is the easiest performance habit to keep. After the garden shredder has been isolated and cooled, brush loose chips and leaf fragments from the hopper, discharge opening, collector area, and accessible cooling vents. A dry brush or wooden clearing tool is safer than reaching into the cutting chamber. Avoid hosing electrical parts or forcing water into bearings, switches, or a motor housing.
For petrol-powered equipment, clear debris away from the engine and muffler area after use. For electric equipment, keep air passages open so the motor can cool. If damp material has compacted inside the garden shredder, remove it before storage rather than allowing it to dry into a hard blockage. Wipe exterior surfaces and store the unit under cover in a dry place.
It depends on the type of garden waste, but alternating leafy material with small, dry woody cuttings can help keep the feed path moving. Do not use the garden shredder for stones, wire, soil-heavy roots, or materials that the manual excludes. Those contaminants can damage blades and create unsafe projectiles.
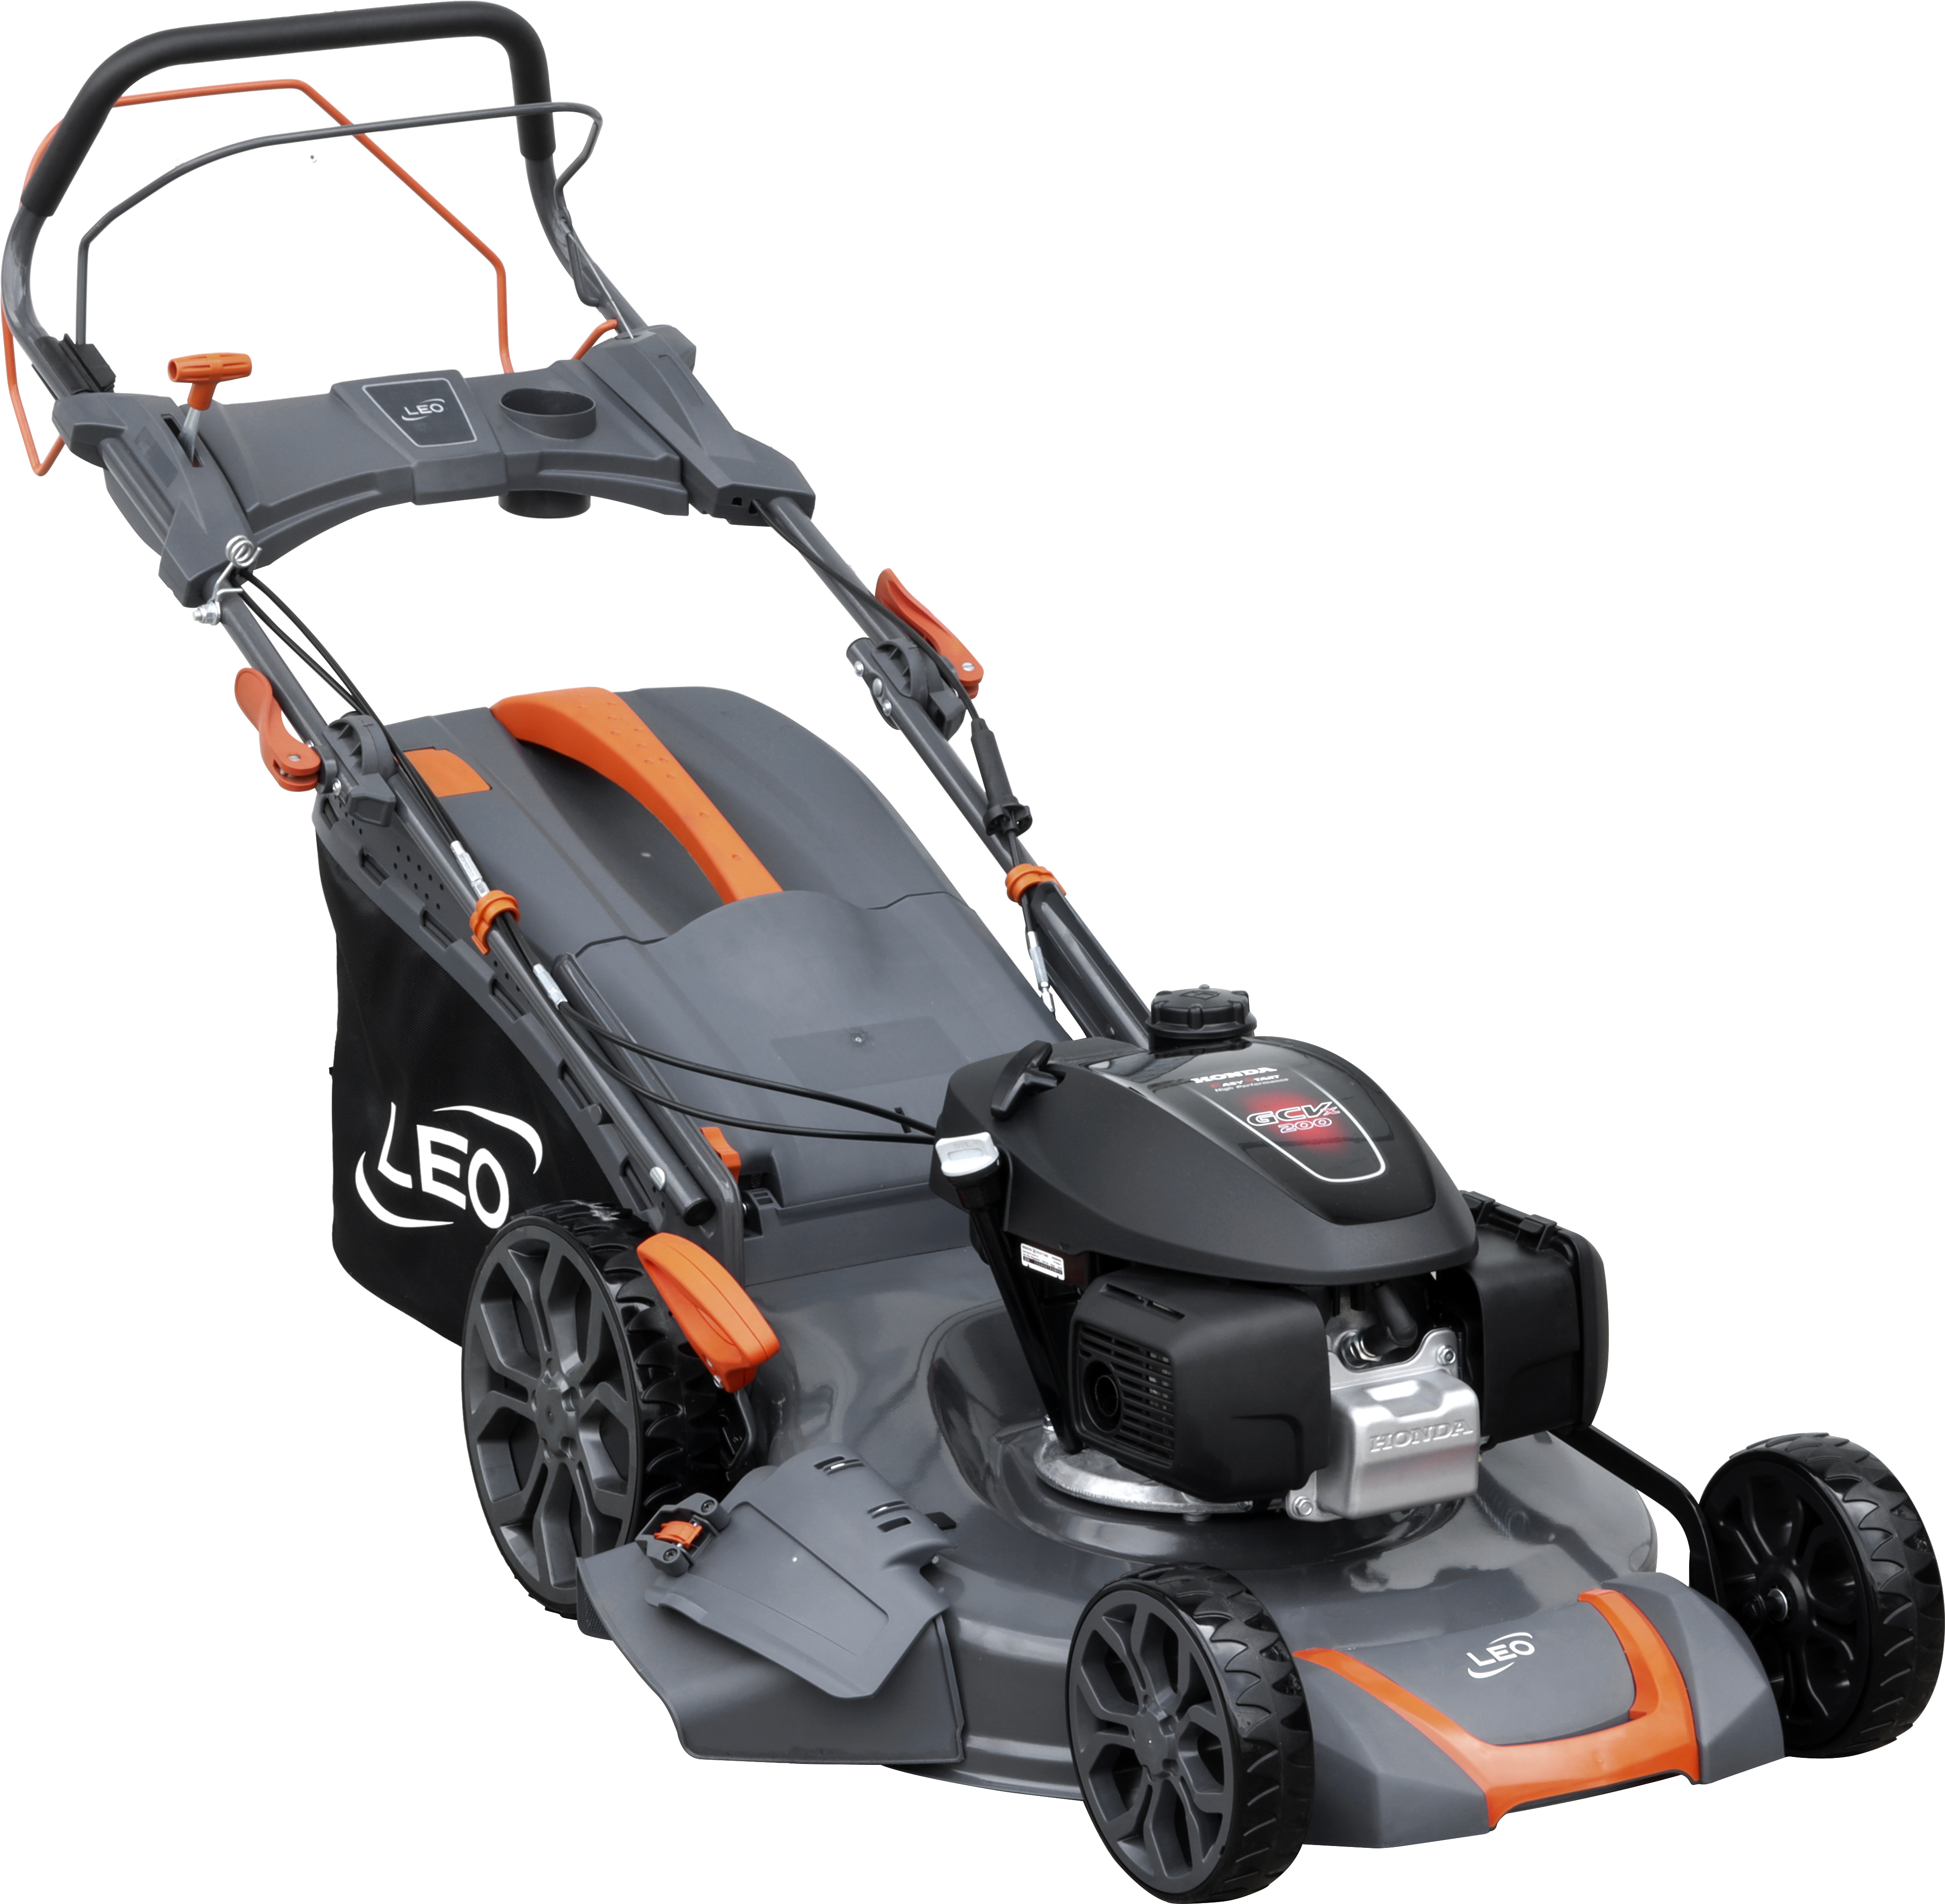 Clean accessible debris only after the machine has been safely isolated.
Blade Maintenance: Sharpen, Rotate, or Replace?
Effective blade maintenance begins with inspection, not automatic sharpening. With the garden shredder disconnected from power, examine accessible cutting edges for rounded corners, chips, cracks, heavy resin buildup, or uneven wear. A sharp edge generally produces more consistent chips and requires less force; a badly damaged edge can overload the drive and should not be reused.
If the manual permits blade removal, mark the original orientation and use the specified tools and torque requirements during reassembly. Some reversible blades can be rotated to a fresh edge. Others must be sharpened to a defined angle or replaced as a set. Do not guess the angle, flatten a hardened cutting edge with an aggressive grinder, or fit an unapproved blade. If you are unsure, a service technician can assess whether sharpening remains safe.
Blade condition is especially important when a garden shredder is expected to process prunings for compost or mulch. Dull blades tend to tear rather than cut cleanly, leaving coarse, inconsistent material and increasing the chance of jams. Keep a simple log of operating symptoms, inspection dates, and any blade work; it makes seasonal service far easier to plan.
Care for the Drive, Motor, or Engine
Do not overlook the power system. On a petrol garden shredder, follow the manual for fuel quality, oil level, air-filter care, spark-plug inspection, and seasonal storage. Manufacturer schedules commonly separate before-use checks from periodic service intervals, so use hours of operation rather than a vague once-a-year rule. On an electric garden shredder, let the motor cool after a thermal cutout, then investigate overload, blocked ventilation, or unsuitable material instead of repeatedly resetting it.
Lubricate only the points named by the manufacturer. More grease is not automatically better: it can attract abrasive dust or contaminate parts that should remain dry. Check belts, couplings, and fasteners for wear only if they are safely accessible and your manual identifies them as user-serviceable.
Know When Cleaning Is Not Enough
Some faults call for professional repair rather than another cleaning session. Stop using the garden shredder if you find a cracked blade, bent shaft, persistent burning smell, damaged wiring, fuel leak, abnormal metal-on-metal noise, repeated tripping, or vibration that remains after debris is cleared. Continuing to run it can make the eventual repair more expensive and can compromise safety.
For long-term service life, arrange a seasonal service when cutting performance has declined despite normal blade maintenance, especially before a heavy pruning period. A technician can inspect components that are not appropriate for home disassembly, confirm safe blade fitment, and address drive or electrical issues early.
A Practical Garden Shredder Maintenance Schedule
| When | What to do | Performance benefit |
|---|---|---|
| Before each use | Inspect guards, cable or fuel system, fasteners, and feedstock. | Reduces overloads and unsafe operation. |
| After each use | Isolate the garden shredder and remove chips, wet debris, and dust from accessible areas. | Prevents blockages and heat buildup. |
| When output becomes coarse | Inspect blades and follow the approved rotate, sharpen, or replace procedure. | Restores cutting efficiency. |
| Seasonally | Complete the manual-specified engine, motor, and storage checks. | Supports reliable starts and longer service life. |
Keep Performance Predictable
A well-maintained garden shredder is easier to feed, produces more usable material, and is less likely to interrupt a garden project. Start with safe isolation, make cleaning routine, inspect blade condition early, and use qualified repair support when a fault goes beyond normal user care. Those habits do more than improve today’s throughput: they protect the garden shredder’s service life and make each maintenance session more predictable.

 Hot News