
 EN
EN
Ride On Mower Maintenance Guide for Long-Term Reliable Operation
A ride on mower earns its place by saving time over a larger lawn, but it only stays dependable when small checks happen before they turn into a missed cut or an expensive repair. As someone who has sold and serviced garden machinery for years, I have seen the same pattern at the service desk: a machine that receives steady equipment care is usually straightforward to keep running; one that is ignored through a dusty summer or a damp winter is much harder to bring back.
This guide is not a substitute for the operator’s and engine manuals. Those documents set the approved fluids, safety procedures, service intervals, torque values, and replacement specifications for your particular ride on mower. Use the routine below as a practical framework, then let the manual have the final word whenever the two differ.
Start with a safe pre-mow inspection
Before each use, park on level ground, switch the engine off, remove the key, let hot parts cool, and engage the parking brake. Walk around the machine rather than jumping straight into the seat. Look for loose fasteners, fuel or oil leaks, damaged guards, and buildup under the deck. Check that controls move properly and that tyres look sound. Clear sticks, wire, stones, and toys from the mowing area; they can damage blades or become dangerous projectiles.
Then check the engine-oil level exactly as the manual describes. Oil is not a place for guesswork: running low accelerates wear, while overfilling can create its own problems. Confirm the fuel level, inspect the battery connections for corrosion, and make sure the seat switch, brake switch, and blade-engagement system behave normally. If a safety device or control is not working, stop and arrange mower service before cutting grass.
Keep the cutting system clean and balanced
The deck works hard in wet grass, dust, and clippings. After mowing, allow the engine to cool and remove accumulated debris using the manufacturer-approved method. Avoid directing high-pressure water at bearings, electrical connections, belts, or the engine air intake. Moisture forced into those areas can shorten component life.
Inspect blades for cracks, bends, excessive wear, and poor cutting quality. A dull blade tears grass instead of cutting it cleanly, so the lawn looks rough and the deck has to work harder. Blade removal, sharpening, balancing, and torque-critical installation deserve care. If you lack the equipment or are unsure about blade condition, let a qualified mower service provider do the work. Do not work beneath an unsupported ride on mower or reach near blades with the key installed.
Also check deck belts, pulleys, discharge chutes, and height-adjustment hardware. A belt that is glazed, frayed, or repeatedly thrown is a symptom to investigate, not merely a part to replace. Clean airflow through the deck, intact guards, and a correctly adjusted cutting height all help the machine cut consistently.
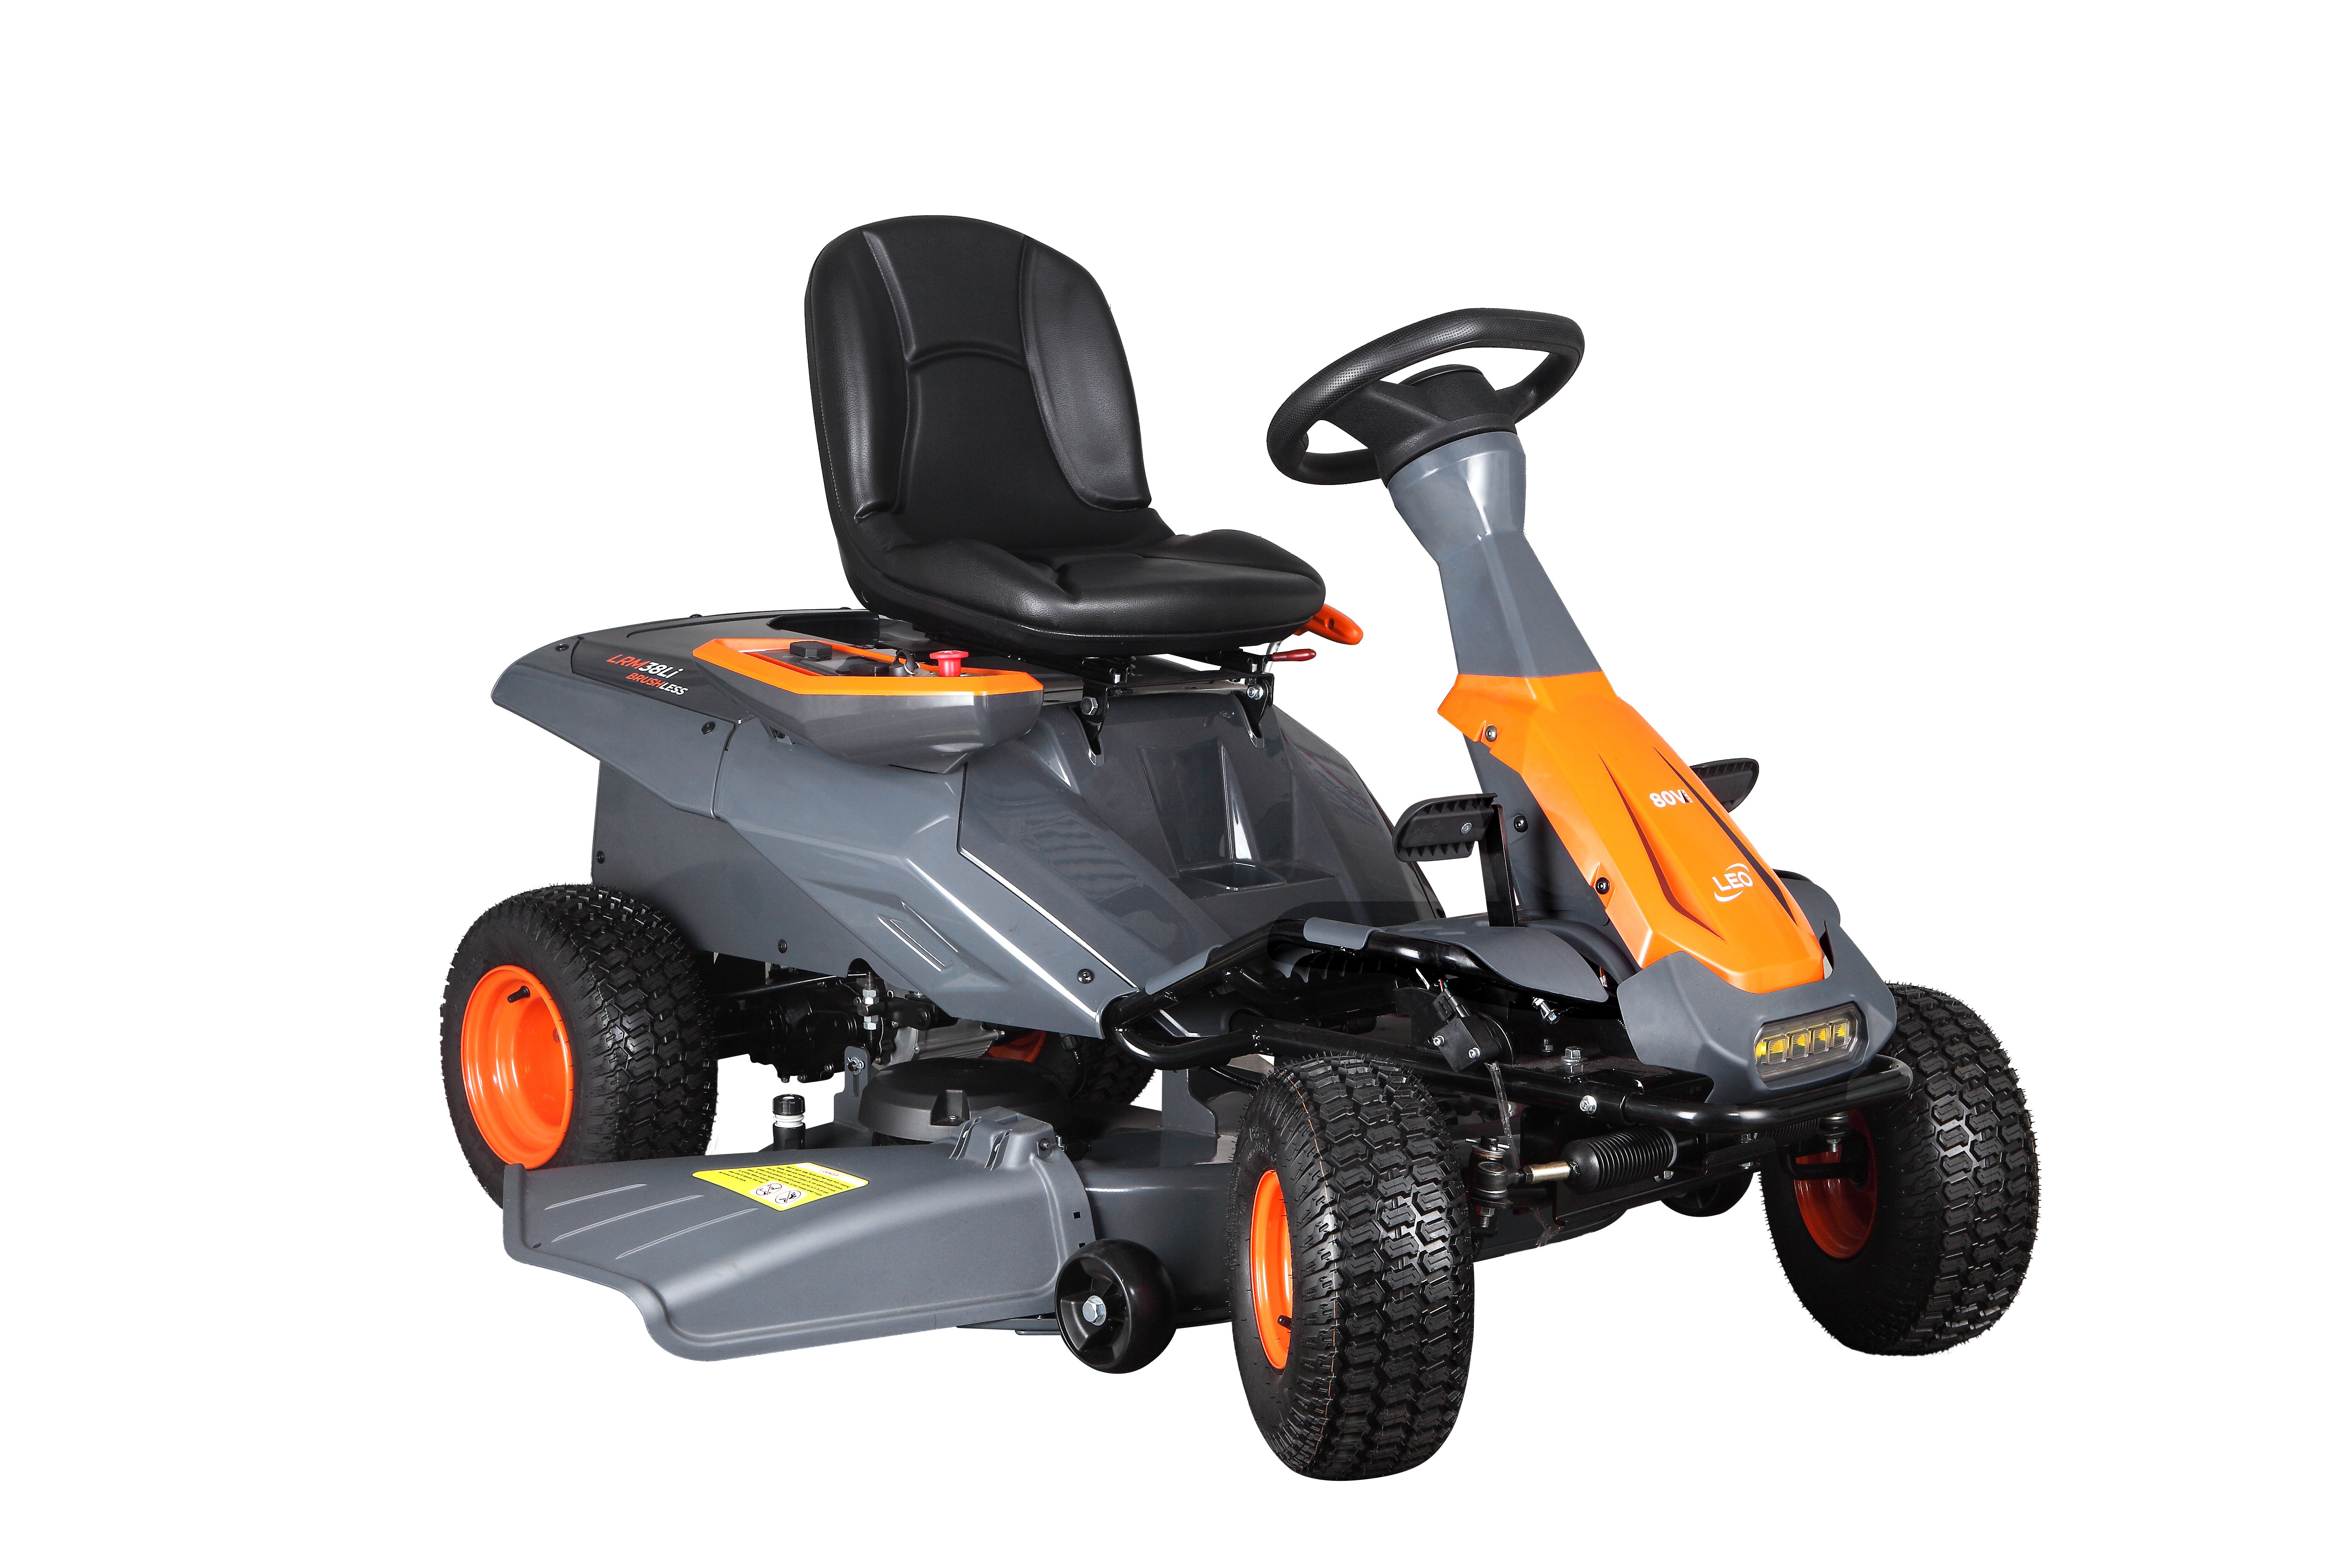
Protect the engine from heat, dirt, and stale fuel
Engine maintenance is usually where reliable ownership is won or lost. Follow the manual’s hour-based schedule for oil and filter changes, and record the date and hours in a notebook or phone. Conditions matter: dusty ground, tall grass, heat, and heavy towing can justify more frequent attention than light, dry residential use.
Check the air filter housing and element regularly. A clean, correctly seated filter prevents abrasive dirt entering the engine. Do not run the mower without it, and do not assume every filter can be cleaned; some elements must be replaced. Inspect the cooling fins and screens as well. When grass and dust blanket the cooling path, heat rises even if the machine still starts and drives.
Use only the fuel type and oil grade specified for the engine. Buy fuel in quantities you can use while it is fresh, keep it in an approved container, and follow the manufacturer’s instructions if a stabilizer is needed. If the engine begins surging, loses power, smokes, or develops an unfamiliar knock, do not keep mowing in the hope it clears itself. Note the conditions and seek diagnosis before a minor fuel, ignition, or airflow problem grows.
Look after the drive train, tyres, and battery
A ride on mower is more than its engine. Check tyre condition and pressure using the values in the manual, because uneven tyres can affect cut quality, traction, and steering. Inspect steering linkage, brakes, transmission-belt areas, and axle or wheel hardware for damage or looseness. Apply lubrication only to the points and products specified by the manufacturer; excess grease in the wrong place attracts grit.
For the battery, keep terminals clean and connections tight. If the mower sits for extended periods, follow the battery maker’s charging guidance rather than repeatedly jump-starting it. A maintainer may be appropriate for some batteries, but it must match the battery type and be used in a dry, ventilated location. Electrical faults, damaged cables, or blown fuses should be addressed with the correct-rated spare parts, not improvised repairs.
Build a service calendar you will actually follow
A practical equipment care system is simple enough to use. Divide tasks into three moments: every use, regular hour-based checks, and seasonal storage. Keep receipts, hour readings, part numbers, and notes on recurring symptoms together. That history makes it easier to order the correct spare parts and helps a technician diagnose a problem without guessing.
| When | Practical focus | Why it matters |
|---|---|---|
| Before each mow | Leaks, oil level, controls, tyres, guards, deck area | Catches safety and reliability issues early |
| During the season | Manual-specified oil, filter, plug, belt, blade, and lubrication tasks | Matches service to hours and working conditions |
| Before storage | Fuel plan, cleaning, battery care, dry protected parking | Reduces corrosion, fuel-related trouble, and no-start surprises |
There is one useful shift in thinking here. The number people often focus on is engine size, but on a slope or across a long season, clean cooling paths, correct lubrication, serviceable belts, and available parts frequently matter more to day-to-day dependability. A machine that is easy to inspect tends to be maintained; a machine that is hard to service often gets deferred until it fails.
Prepare properly for off-season storage
Do not simply park the mower after the final cut. Let it cool, remove grass and soil from the deck and exterior, and allow it to dry. Treat the fuel system according to the engine manual: depending on the model and expected storage period, that may mean using approved stabilized fuel or following the prescribed procedure for removing fuel. Do not drain or handle fuel near flames, sparks, or enclosed spaces.
Complete the manual’s storage checklist for oil, battery, tyres, and corrosion protection. Store the mower on a level surface in a clean, dry, well-ventilated area away from ignition sources. Cover it with a breathable cover rather than trapping moisture against hot or damp metal. Before the first spring cut, repeat the pre-mow inspection and address any rodent damage, leaks, flat tyres, or battery issues before starting.
Know when to call for professional mower service
Owner checks are valuable, but they have limits. Get professional help for persistent starting issues, fuel leaks, brake faults, transmission problems, damaged safety interlocks, cracked blades or deck components, major vibration, and repairs that require lifting equipment or specialist tools. Use the mower’s model and serial information when ordering spare parts so filters, belts, blades, and electrical components match the exact machine.
Long-term reliability does not depend on doing every job yourself. It depends on doing the right checks on time, using approved parts and fluids, and stopping when a repair moves beyond safe routine maintenance. Make the next service date visible, keep the operator’s manual close, and your ride on mower will be far more likely to be ready when the grass starts growing again.
 Hot News