
 EN
How to Extend the Service Life of Garden Equipment Through Maintenance?
Garden equipment earns its keep in short, demanding bursts: a wet Saturday of mowing, a hedge-cutting afternoon, or a planting weekend that leaves soil packed into every joint. The useful habit is not a complicated workshop routine. It is giving each tool a few minutes of attention before dirt dries, moisture settles, or a small vibration becomes a loose fastener. For homeowners and small grounds crews, steady care can make garden equipment more dependable from one season to the next.
Think of maintenance as a sequence rather than a once-a-year rescue. Clean after use, inspect before the next task, and schedule deeper service when the work calendar slows down. These maintenance tips apply to hand tools, battery-powered outdoor tools, corded tools, and many small-engine machines; the owner’s manual remains the authority for a particular model.
Start With a Safe, Repeatable Garden Equipment Routine
Before touching blades, belts, filters, or moving parts, switch off the garden equipment and let hot components cool. Unplug corded tools, remove batteries, and for a gasoline machine follow the manual’s procedure for isolating ignition. This simple pause protects both the person doing the work and the machine from accidental starts.
Keep a small maintenance kit near where you store garden equipment: a stiff brush, clean cloths, mild soap, suitable lubricant, a file or sharpening service contact, and the manuals. Having the kit in reach matters because a quick clean is far more likely to happen than a lengthy repair session later.
Clean Soil, Sap, and Lawn Clippings Before They Hold Moisture
Soil and wet lawn clippings trap water against metal, while sticky plant residue can make pivots and cutting surfaces harder to use. After each job, brush loose debris from garden equipment, wipe metal surfaces dry, and clear vents without forcing debris deeper into the housing. Oregon State University Extension guidance also emphasizes cleaning tools and storing them in a clean, dry place.
For shovels, hoes, pruners, and loppers, pay attention to the blade-to-handle connection and the hinge area. For mowers and trimmers, use the manufacturer’s cleaning method rather than directing water at bearings, motors, or electrical areas. This service guide approach keeps ordinary cleaning from introducing a new problem.
- Remove caked soil with a brush before it hardens.
- Dry steel edges and fasteners after washing or rainy work.
- Clear lawn clippings from guards and cooling paths only when the garden equipment is powered down.
- Check handles, housings, and guards for cracks while cleaning.
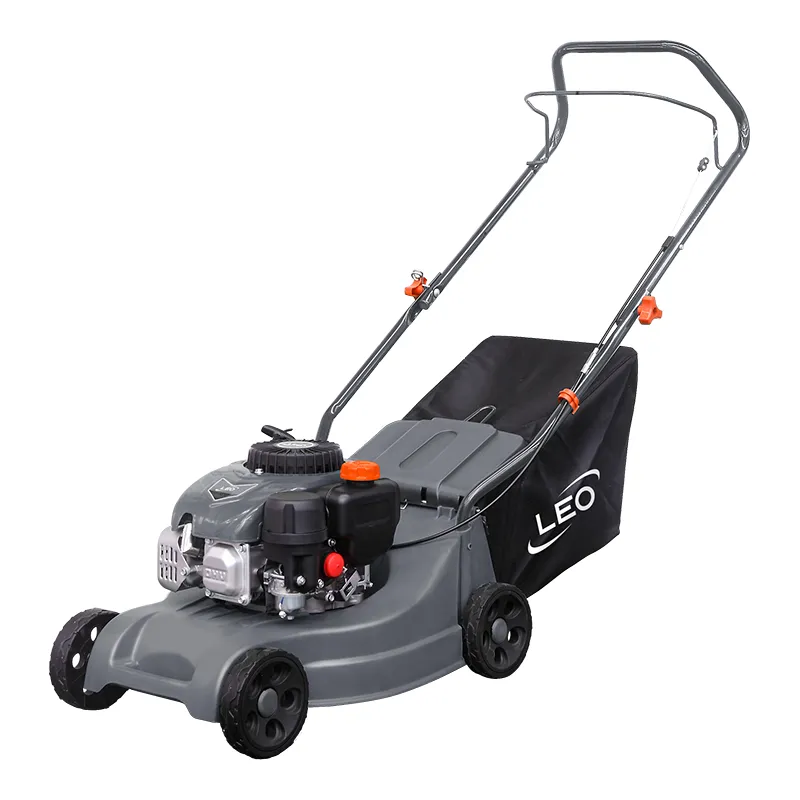 Cleaning and inspection are easier when the tools and supplies are kept together.
Inspect Wear Points Before They Become Downtime
A five-minute inspection helps you notice change while garden equipment is still usable. Look for loose nuts, frayed cords, split grips, missing guards, worn wheels, and cutting edges that pull instead of cut. Tighten or replace components only as the manual permits. A tool that suddenly needs more force is often asking for attention, not more pressure from the operator.
For powered garden equipment, examine air inlets, cables, battery contacts, and visible fasteners. On gasoline units, inspect the fuel cap area and the condition of accessible filters. Small-engine maintenance guidance commonly uses operating hours or an annual interval; one published schedule, for example, calls for air-filter cleaning at 25 hours or annually and spark-plug and fuel-filter replacement at 50 hours or annually. Treat those figures as a planning prompt, then use the interval specified for your equipment.
Sharpen, Lubricate, and Adjust With Purpose
Well-honed cutting edges reduce tearing in plants and reduce the effort needed from the user and the garden equipment. A spade, hoe, or pruning tool does not need an extreme edge; it needs an even, sound edge with no large nicks. If you are not comfortable filing an edge or setting blade clearance, use a qualified service provider. Incorrect sharpening can remove too much material or change how a cutting tool tracks.
Lubrication belongs only where the manufacturer identifies a pivot, cable, gearbox, or fitting. Wipe off old grime first, apply the stated lubricant sparingly, and clean excess from nearby surfaces. This is one of the maintenance tips that can improve movement without coating areas that should stay dry.
Manage Fuel, Batteries, and Electrical Parts for the Off-Season
Storage choices have a direct effect on equipment lifespan. For fuel-powered garden equipment, follow the manual’s instructions for short-term and long-term fuel handling. Old fuel can create starting and running problems, so do not assume last season’s fuel is still suitable. Plan any fuel-system work after the engine has cooled and in a well-ventilated area clear of ignition sources.
For battery outdoor tools, remove the battery when the tool will sit unused and use the maker’s stated storage temperature and charging guidance. Keep contacts clean and dry. For corded garden equipment, coil the cord loosely, inspect the insulation, and avoid hanging a tool by its cord. These small habits protect parts that are easy to overlook during busy weather.
Store Garden Equipment So It Is Ready for the Next Task
A dry, sheltered location is the baseline for garden equipment storage. Hang hand tools when possible so their edges and handles are off a damp floor. Keep heavier machines stable, out of direct weather, and with ventilation openings clear. Covering a machine can make sense in a dusty area, but wait until garden equipment has cooled before covering it and keep ventilation areas unobstructed.
Before the first job of a new season, use a short return-to-service check: inspect guards, test controls without load, look for leaks or damage, confirm fasteners, and clean the work area around the machine. This service guide step makes the first use less hurried and gives you a chance to book professional service if something looks unusual.
Build a Calendar That Fits Your Garden Equipment
The most sustainable plan divides garden equipment care into three moments. After each use, clean and dry it. Monthly during active use, inspect wear points and moving parts. At the end of the season, perform the manual-directed service, address dull edges, and prepare fuel or batteries for storage. Put reminders beside the garden calendar rather than relying on memory.
Keep a simple note of service dates, operating hours where relevant, parts replaced, and problems noticed. That record helps you decide whether a repair is timely and allows several people to care for shared outdoor tools in the same way. Maintenance is not about making every job longer; it is about making garden equipment easier to use, safer to inspect, and less likely to surprise you when the growing season begins.
Frequently Asked Questions
How often should garden equipment be cleaned?
Brush off soil, lawn clippings, and moisture after each use. Schedule a closer inspection monthly during active periods and follow the manufacturer’s instructions for deeper service.
Can I use one maintenance schedule for all outdoor tools?
No. A common routine for cleaning and storage helps, but the service intervals for blades, batteries, filters, and fuel systems depend on the tool and its manual.


 Hot News